

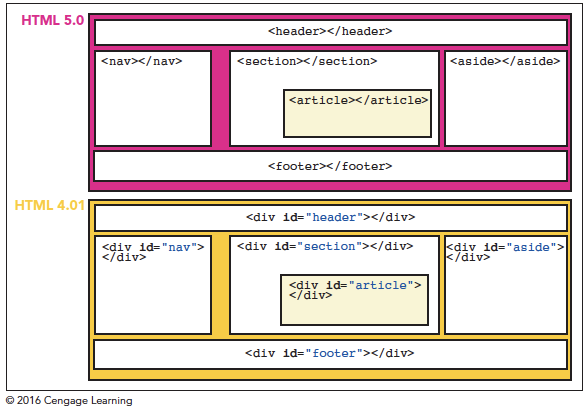
HTML marks the major topical areas of a page using sectioning elements also referred to as semantic elements. Comparing Sections in HTML4 and HTML5
| Element | Description |
|---|---|
| address | Marks contact information for an individual or group |
| article | Marks a self-contained composition in the document such as a newspaper story [HTML5] |
| aside | Marks content that is related to a main article [HTML5] |
| body | Contains the entire content of the document |
| footer | Contains closing content that concludes an article or section [HTML5] |
| h1, h2, h3, h4, h5, h6 | Marks major headings with h1 representing the heading with the highest rank, h2 representing next highest-ranked heading, and so forth |
| header | Contains opening content that introduces an article or section [HTML5] |
| nav | Marks a list of hypertext or navigation links [HTML5] |
| section | Marks content that shares a common theme or purpose on the page [HTML5] |
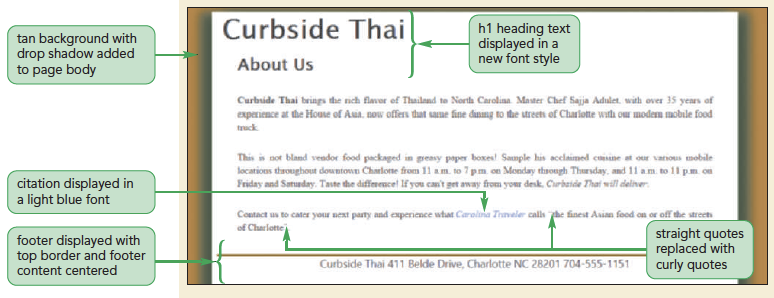
<header>
    <h1>Curbside Thai</h1>
</header>
<article>
    <h1>About Us</h1>
</article>
<footer>
    Curbside Thai 411 Belde Drive, Charlotte NC 28201 704-555-
1151
</footer>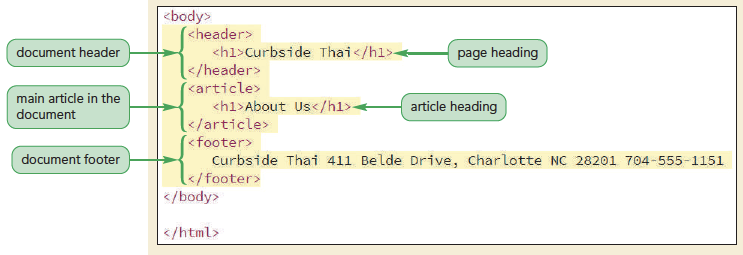
| Element | Description |
|---|---|
| <blockquote> | Contains content that is quoted from another source, often with a citation and often indented on the page |
| <div> | Contains a generic grouping of elements within the document |
| <dl> | Marks a description list containing one or more dt elements with each followed by one or more dd elements |
| <dt> | Contains a single term from a description list |
| <dd> | Contains the description or definition associated with a term from a description list |
| <figure> | Contains an illustration, photo, diagram, or similar object that is cross-referenced elsewhere in the document [HTML5] |
| <figcaption> | Contains the caption associated with a figure [HTML5] |
| <hr /> | Marks a thematic break such as a scene change or a transition to a new topic (often displayed as a horizontal rule) |
| <main> | Marks the main content of the document or application; only one main element should be used in the document [HTML5] |
| <ol> | Contains an ordered list of items |
| <ul> | Contains an unordered list of items |
| <li> | Contains a single item from an ordered or unordered list |
| <p> | Contains the text of a paragraph |
| <pre> | Contains a block of preformatted text in which line breaks and extra spaces in the code are retained (often displayed in a monospace font) |
ct_pages.txt file from the html01 < tutorial folder.ct_about.html file in your HTML editor.<h1>About Us</h1> line within the page article, insert a new blank line and paste the text you copied.<p>tag and a closing </p> tag. Indent the code within the article element to make the code easier to read.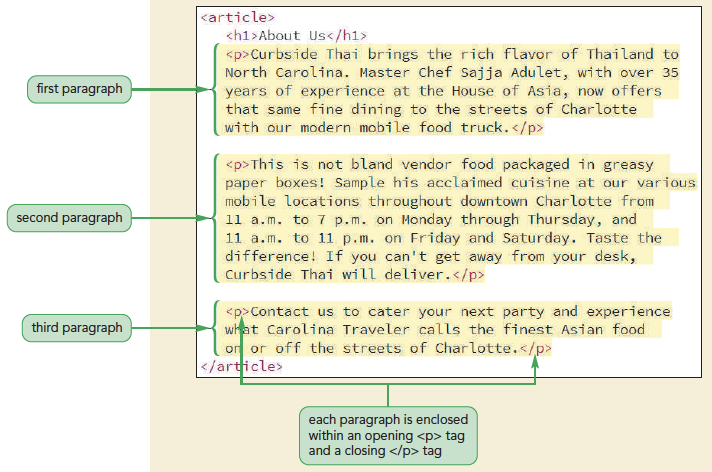
| Element | Description |
|---|---|
| <a> | Marks content that acts as a hypertext link |
| <abbr> | Marks an abbreviation or acronym |
| <b> | Indicates a span of text to which attention should be drawn (text usually appears in bold and is depricated [no longer being used]) |
| <br> | Represents a line break within the grouping element |
| <cite> | Marks a citation to a title or author of a creative work (text usually appears in italics) |
| <code> | Marks content that represents computer code (text usually appears in a monospace font) |
| <data> | Associates a data value with the marked text with the value attribute providing the value [HTML5] |
| <dfn> | Marks a defined term for which a definition is given elsewhere in the document |
| <em> | Indicates content that is emphasized or stressed (text usually appears in italics) |
| <i> | Indicates a span of text that expresses an alternate voice or mood (text usually appears in italics) |
| <kbd> | Marks text that represents user input, typically from a computer keyboard or a voice command |
| <marks> | Contains a row of text that is marked or highlighted for reference purposes [HTML5] |
| <q> | Marks content that is quoted from another source |
| <s> | Marks content that is no longer accurate or relevant (text is usually struck through) |
| <samp> | Marks text that represents the sample output from a computer program or application |
| <small> | Marks side comments (text usually in small print) |
| <span> | Contains a generic run of text within the document |
| <strong> | Indicates content of strong importance or seriousness (text usually appears in bold) |
| <sub> | Marks text that should be treated as a text subscript |
| <sup> | Marks text that should be treated as a text superscript |
| <time> | Marks a time value or text string [HTML5] |
| <u> | Indicates text that appears stylistically different from normal text (text usually appears underlined) |
| <var> | Marks text that is treated as a variable in a mathematical expression or computer program |
| <wbr> | Represents where a line break should occur, if needed, for a long text string [HTML5] |
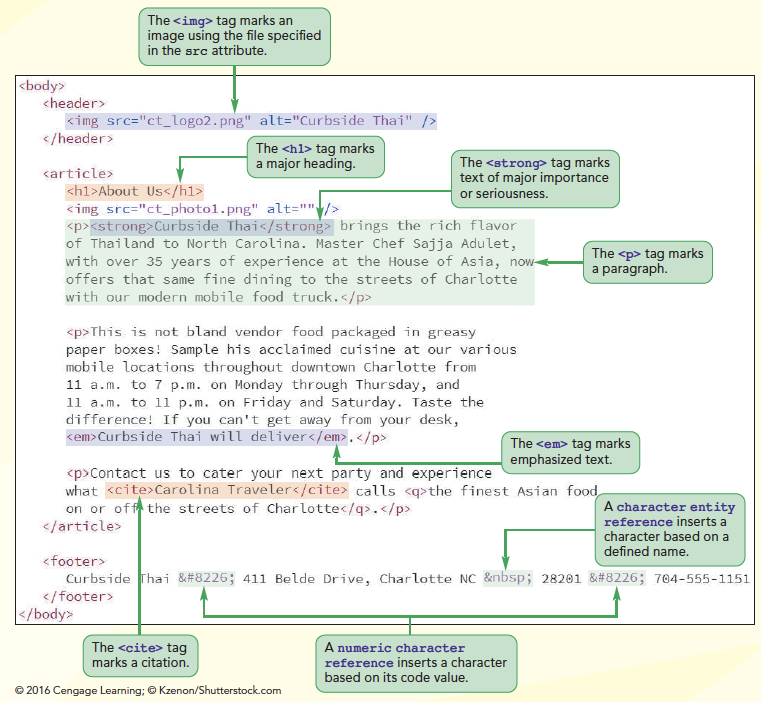
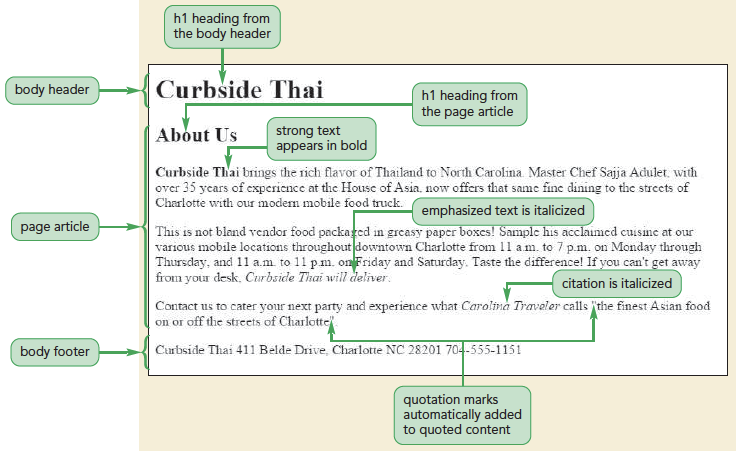
<strong> tags. You use the <strong> tags when you want to strongly reinforce the importance of the text, such as the restaurant name, for the reader.<em> tags to emphasize this text.cite element and then mark the extended quote, the finest Asian food on or off the streets of Charlotte, using the q element.ct_about.html file in your browser to view how your browser renders the page content.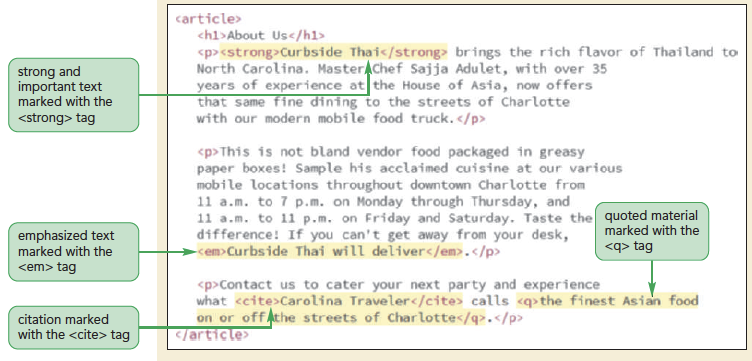
<link href=”file” rel=”stylesheet” />ct_about.html file in your HTML editor.<link href=”ct_base.css” rel=”stylesheet” />
<link href=”ct_layout2.css” rel=”stylesheet” />
ct_about.html file in your browser. 
| HTML Name | Symbol | Description |
|---|---|---|
| ! | ! | Exclamation mark |
| &quot; | " | Double quotes (or speech marks) |
| # | # | Number sign |
| $ | $ | Dollar |
| % | % | Per cent sign |
| & | & | Ampersand |
| ' | ' | Single quote |
| ( | ( | Open parenthesis (or open bracket) |
| ) | ) | Close parenthesis (or close bracket) |
| * | * | Asterisk |
| + | + | Plus |
| , | , | Comma |
| / | / | Slash or divide |
| : | : | Colon |
| ; | ; | Semicolon |
| < | < | Less than (or open angled bracket) |
| = | = | Equals |
| > | > | Greater than (or close angled bracket) |
| ? | ? | Question mark |
| @ | @ | At sign |
| [ | [ | Opening bracket |
| \ | \ | Backslash |
| ] | ] | Closing bracket |
| ^ | ^ | Caret - circumflex |
| _ | _ | Underscore |
| ` | ` | Grave accent |
| { | { | Opening brace |
| | | | | Vertical bar |
| } | } | Closing brace |
| ˜ | ˜ | Equivalency sign - tilde |
| € | € | Euro sign |
| ‚ | ‚ | Single low-9 quotation mark |
| „ | „ | Double low-9 quotation mark |
| … | … | Horizontal ellipsis |
| † | † | Dagger |
| ‡ | ‡ | Double dagger |
| ˆ | ˆ | Modifier letter circumflex accent |
| ‰ | ‰ | Per mille sign |
| ‹ | ‹ | Single left-pointing angle quotation |
| ‘ | ‘ | Left single quotation mark |
| ’ | ’ | Right single quotation mark |
| HTML Name | Symbol | Description |
|---|---|---|
| “ | “ | Left double quotation mark |
| ” | ” | Right double quotation mark |
| • | • | Bullet |
| – | – | En dash |
| — | — | Em dash |
| ˜ | ˜ | Small tilde |
| ™ | ™ | Trade mark sign |
| › | › | Single right-pointing angle quotation mark |
| | Non-breaking space | |
| ¡ | ¡ | Inverted exclamation mark |
| ¢ | ¢ | Cent sign |
| £ | £ | |
| ¤ | ¤ | Currency sign |
| ¥ | ¥ | Yen sign |
| ¦ | ¦ | Pipe, broken vertical bar |
| § | § | Section sign |
| ¨ | ¨ | Spacing diaeresis - umlaut |
| © | © | Copyright sign |
| ª | ª | Feminine ordinal indicator |
| « | « | Left double angle quotes |
| ¬ | ¬ | Negation |
| ­ | | Soft hyphen |
| ® | ® | Registered trade mark sign |
| ¯ | ¯ | Spacing macron - overline |
| ° | ° | Degree sign |
| ± | ± | Plus-or-minus sign |
| ² | ² | Superscript two - squared |
| ³ | ³ | Superscript three - cubed |
| ´ | ´ | Acute accent - spacing acute |
| µ | µ | Micro sign |
| ¶ | ¶ | Pilcrow sign - paragraph sign |
| · | · | Middle dot - Georgian comma |
| ¸ | ¸ | Spacing cedilla |
| ¹ | ¹ | Superscript one |
| º | º | Masculine ordinal indicator |
| » | » | Right double angle quotes |
| ¼ | ¼ | Fraction one quarter |
| ½ | ½ | Fraction one half |
| ¾ | ¾ | Fraction three quarters |
| ¿ | ¿ | Inverted question mark |
| ÷ | ÷ | Division sign |
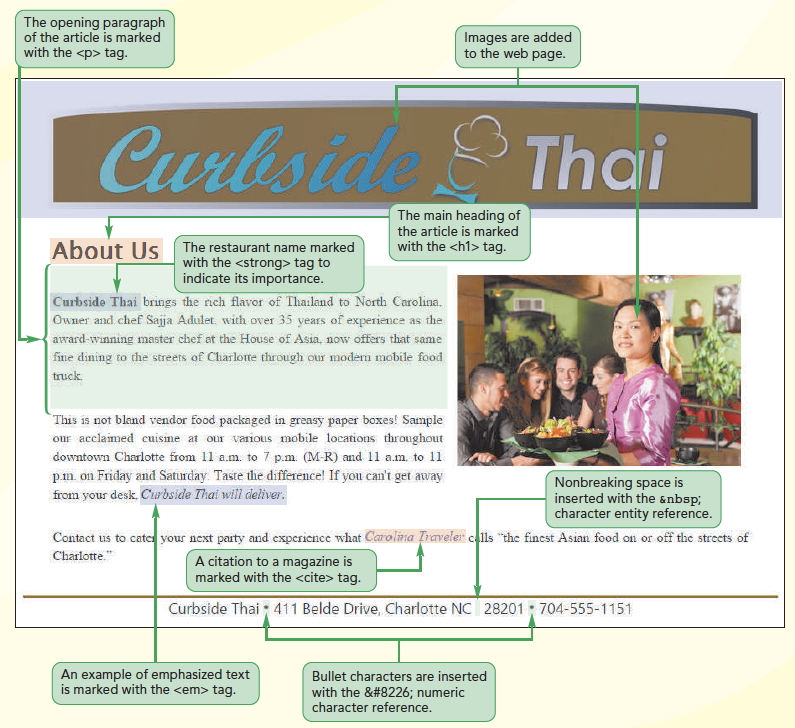
ct_about.html file in your HTML editor.&bull directly after the word Thai and after the postal code 28201. Insert the character reference directly before the postal code. ct_about.html file in your browser. Confirm that the footer now shows the characters displayed in Figure 1-22.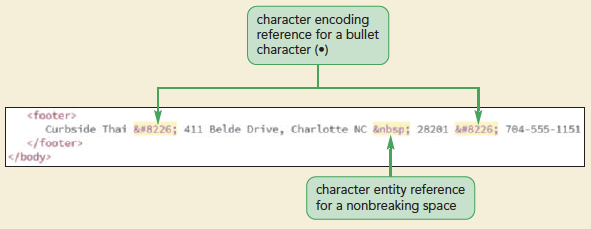

<img src=“file” alt=“text” />| Element | Description |
|---|---|
| <audio></audio> | Represents a sound clip or audio stream [HTML5] |
| <canvas></canvas> | Contains programming scripts used to construct bitmap images and graphics [HTML5] |
| <embed /> | Contains general embedded content including application or interactive content |
| <iframe></iframe> | Contains the contents of an external web page or Internet resource |
| <img /> | Contains a graphic image retrieved from an image file |
| <object></object> | Contains general embedded content including application or interactive content |
| <video></video> | Represents a video clip or video stream with captions [HTML5] |
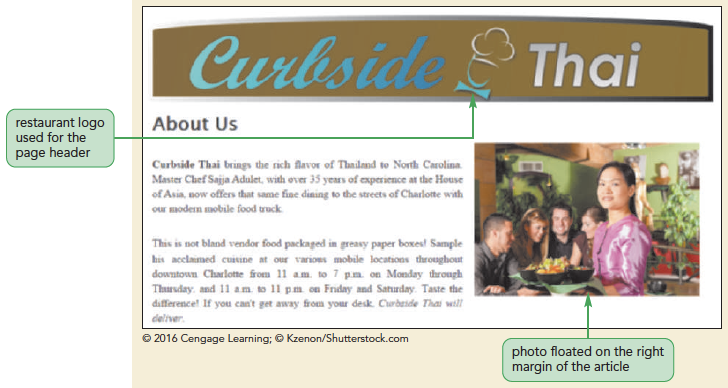
ct_about.html file in your HTML editor.h1 element with the tag<img src=“ct_logo2.png” alt=“Curbside Thai” />article element and, directly after the h1 element, insert the tag <img src=“ct_photo1.png” alt=“” />ct_about.html file in your browser. 
ct_reviews_txt.html file from the html01 > tutorial folder in your HTML editor. Enter your name and the date in the comment section and save the file as ct_reviews.html.ct_pages.txt file in your text editor.ct_reviews.html file in your HTML editor and paste the text of the four reviews directly after the <h1>Reviews</h1> line.<blockquote> tags. Enclose each paragraph within each review with a set of <p> tags. Align and indent your code to make it easier to read. ct_reviews.html file in your browser. 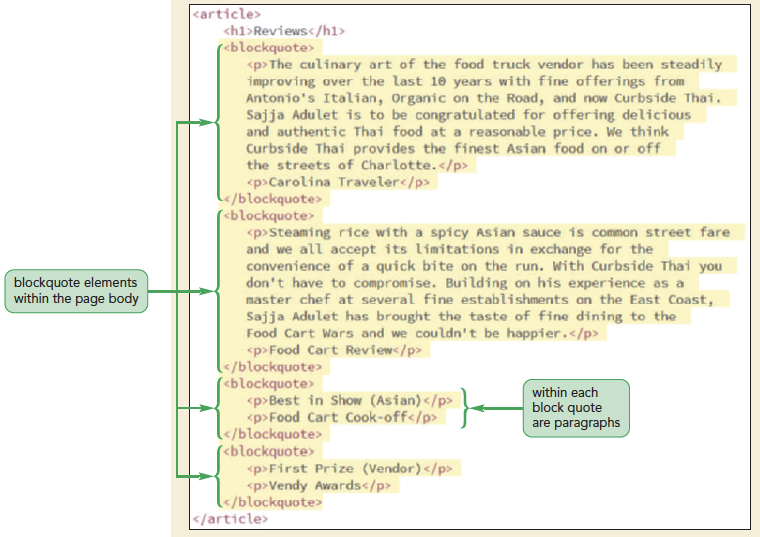

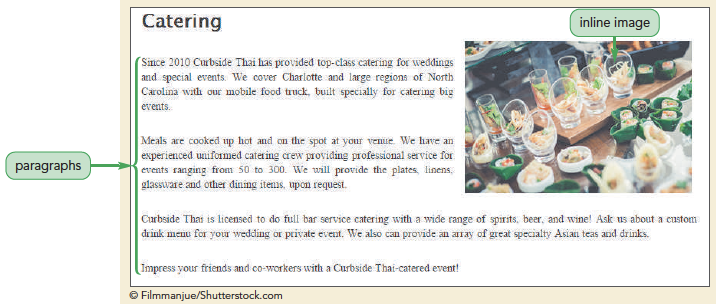
ct_catering_txt.html file from the html01 > tutorial folder in your HTML editor. Enter your name and the date in the comment section and save the file as ct_catering.html.ct_pages.txt file in your text editor.ct_catering.html file in your HTML editor and paste the copied text directly after the <h1>Catering</h1> line.p element. Align and indent your code to make it easier to read.<h1>Catering</h1> tag, insert an inline image using ct_photo2.png as the source and an empty text string for the alt attribute.ct_catering.html file in your browser. 
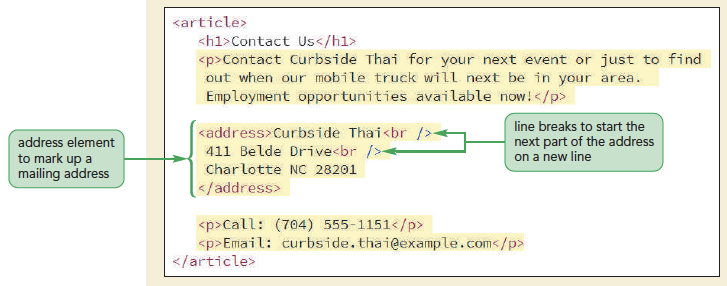
ct_contact_txt.html file from the html01 > tutorial folder in your HTML editor. Enter your name and the date in the comment section and save the file as ct_contact.html. Note that this page is linked to two style sheets that Sajja created.ct_pages.txt file in your text editor.ct_contact.html file in your HTML editor and paste the copied text directly after the <h1>Contact Us</h1> tag.<p> tags to mark it as a paragraph.<address> tags to mark that content as an address. Insert the <br /> tag at the end of the first two lines to create a line break between the name of the restaurant and the street address.p element. ct_contact.html file in your browser as shown in Figure 1-31.