Session 2.2 Visual Overview:
CSS Typography


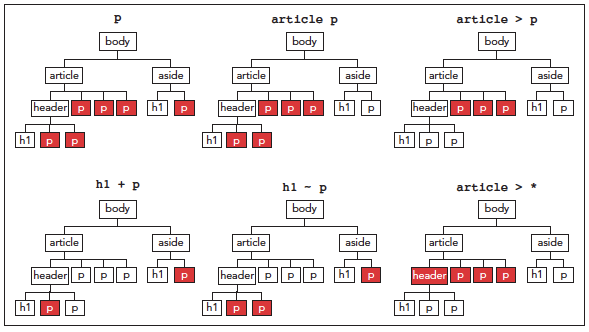
| Selector | Description |
|---|---|
| * | Matches any element |
| elem | Matches the element located anywhere in the document |
| elem1, elem2, ... | Matches any of the elements ect. |
| parent descendant | Matches the descendant element that is nested within the parent element at some level |
| parent > child | Matches the child element that is a child of the parent element |
| elem1 + elem2 | Matches elem2 that is immediately preceded by the sibling element elem1 |
| elem1 - elem2 | Matches elem2 that folows the sibling element elem1 |
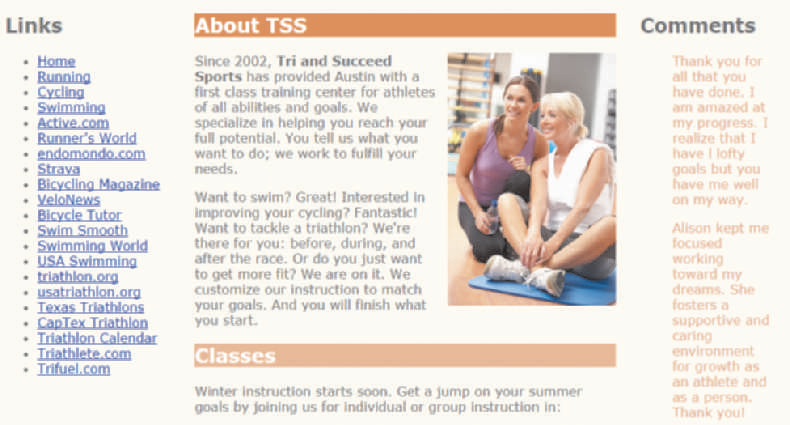
tss_styles.css file is open in your editor.aside blockquote {
color: rgb(232, 165, 116);
}tss_home.html file in your browser. Verify that the text of the customer quotes appears in orange.
| Selector | Selects | Example | Selects |
|---|---|---|---|
| elem#id | Element elem with the ID value id | h1#intro | The h1 heading with the id intro |
| #id | Any element with the ID value id | #intro | Any element with the id intro |
| elem.class | All elem elements with the class attribute value class | p.main | All paragraphs belonging to the main class |
| .class | All elements with the class value class | .main | All elements belonging to the main class |
| elem[att] | all elem elements contaning the att attribute | a[href] | all hypertext elements contaning the href attribure |
| elem[alt="text"] | all elem elements whos att attribure equals text | a[href= "top,html"] | all hypertext elements whos href attribute equals top.html |
| elem [att-="text"] | All elem elements whose att attribute contains the word text | a[rel-="glossary" ] | All hypertext elements whose rel attribute contains the word glossary |
| elem [att|="text"] | All elem elements whose att attribute value is a hyphen-separated list of words beginning with text | p[id|="first"] | All paragraphs whose id attribute starts with the word first in a hyphen-separated list of words |
| elem [att^="text"] | All elem elements whose att attribute begins with text [CSS3] | a[rel^="prev"] | All hypertext elements whose rel attribute begins with prev |
| elem [att$="text"] | All elem elements whose att attribute ends with text [CSS3] | a[href$="org"] | All hypertext elements whose href attribute ends with org |
| elem [att*="text"] | All elem elements whose att attribute contains the value text [CSS3] | a[href*=" faq" ] | All hypertext elements whose href attribute contains the text string faq |
tss_styles.css file in your editor.h1 and h2 elements in the Heading Styles section to article#about_tss h1 and article#about_tss h2 respectively.tss_home.html file in your browser. Verify that the design of the h1 and h2 headings is only applied to the headings in the about_tss article but not to the other headings on the page.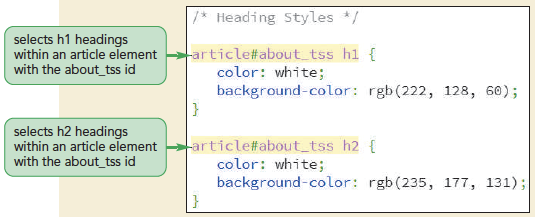
tss_run_txt.html, tss_bike_txt.html, and tss_swim_txt.html files from the html02 > tutorial folder. Enter your name and the date in the comment section of each file and save them as tss_run.html, tss_bike.html, and tss_swim.html respectively.</head> tag to link these files to the tss_layout.css and tss_styles.css files, respectively:<link href="tss_layout.css" rel="stylesheet" />
<link href="tss_styles.css" rel="stylesheet" />
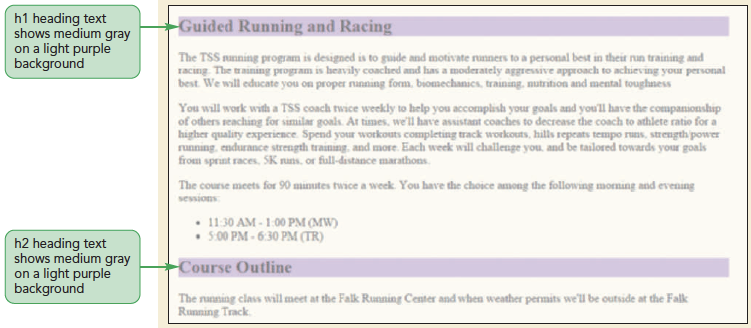
tss_style.css file in your editor.h1 and h2 headings in medium gray on a light purple background:article.syllabus h1, article.syllabus h2 {
background-color: rgb(255, 185, 255);
color: rgb(101, 101, 101);
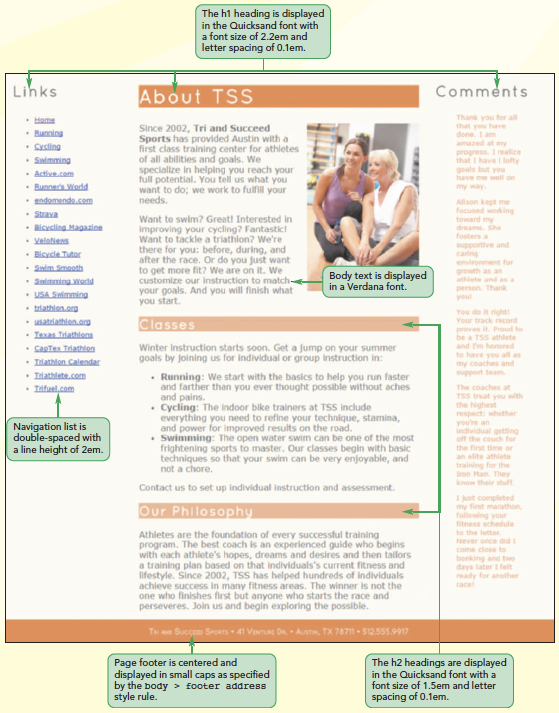
}tss_run.html file in your browser. h1 and h2 headings on these pages have similar formats.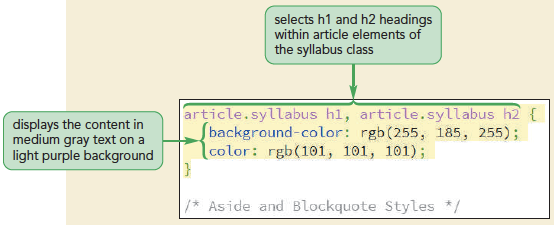
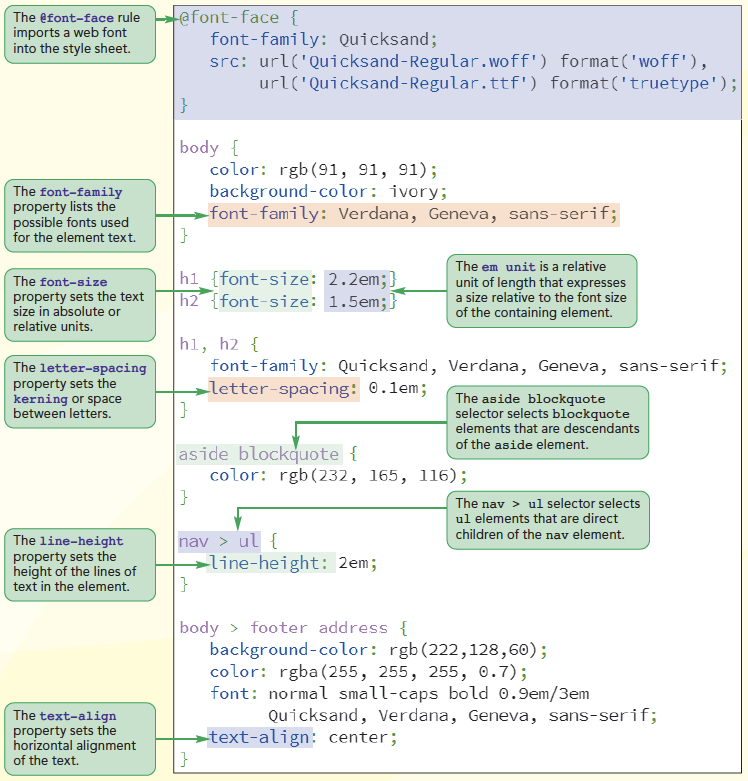
font-family: fonts;where fonts is a comma-separated list, also known as a font stack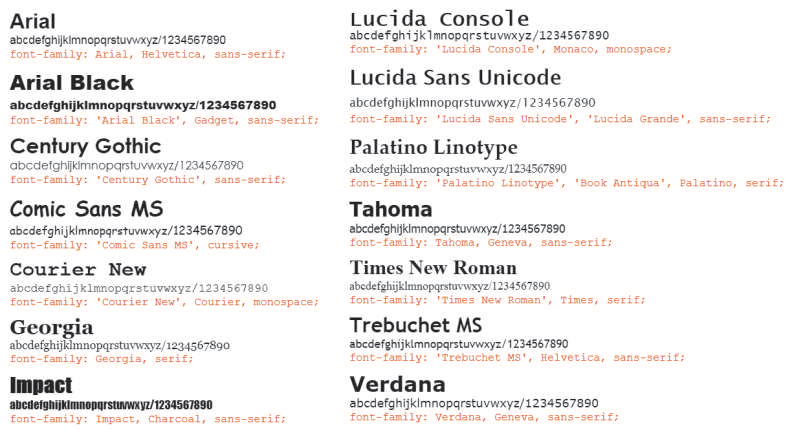
tss_styles.css file in your editor.font-family: Verdana, Geneva, sans-serif;tss_home.html file in your browser. 
| Format | Description | Browser |
|---|---|---|
| Embedded OpenType (EOT) | A compact form of OpenType fonts designed for use as embedded fonts in style sheets | IE |
| TrueType (TTF) | Font standard used on the Mac OS and Microsoft Windows operating systems | IE, Firefox, Chrome, Safari, Opera |
| OpenType (OTF) | Font format built on the TrueType format developed by Microsoft | IE, Firefox, Chrome, Safari, Opera |
| Scalable Vector Graphics (SVG) | Font format based on an XML vocabulary designed to describe resizable graphics and vector images | Chrome, Safari |
| Web Open Font Format (WOFF) | The W3C recommendation font format based on OpenType and TrueType with compression and additional metadata | IE, Firefox, Chrome, Safari, Opera |
@font-face rule to the style sheet@font-facerule, it is included in the font stack@font-face {
font-family: name; src: url(url1) format (text1), url(url2) format (text2), ... ;
descriptor1: value1;
descriptor2: value2;
...
}name is the name of the font, url is the location of the font definition file, text is an optional text description of the font format, and the descriptor1: value1; pairs are optional style properties of the font@font-face rule:
@font-face {
font-family: Quicksand;
src: url('Quicksand-Regular.woff') format('woff'),
url('Quicksand-Regular.ttf') format('truetype');
}h1, h2 {
font-family: Quicksand, Verdana, Geneva, sans-serif;
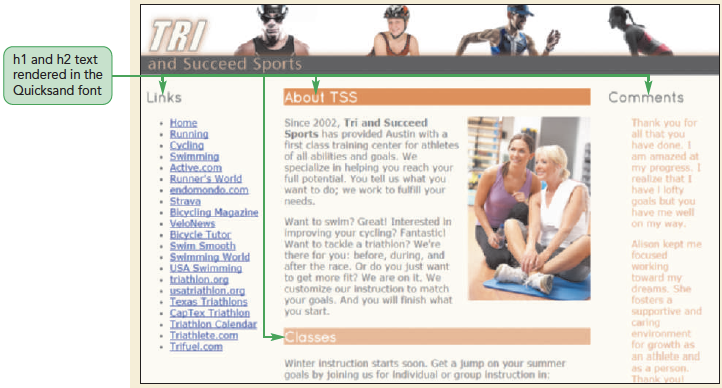
}tss_home.html file in your browser. 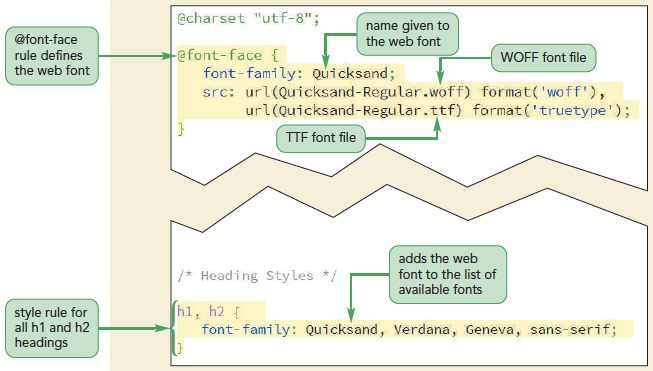
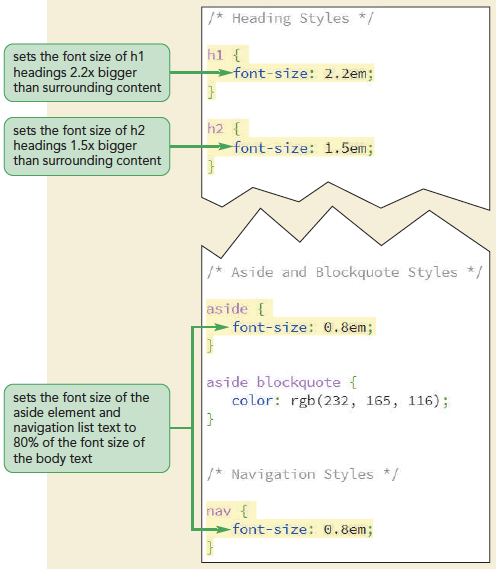
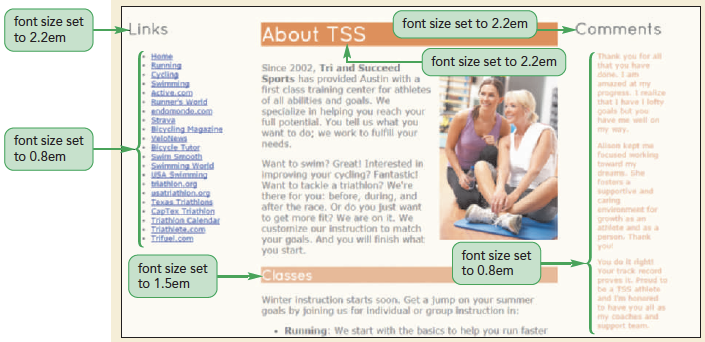
font-size: size; where size is a CSS unit of length in either relative or absolute units.h1 {
font-size: 2.2em;
}
h2 {
font-size: 1.5em;
}aside {
font-size: 0.8em;
} nav {
font-size: 0.8em;
}
letter-spacing: value;
word-spacing: value;
line-height: size;
text-indent: size;
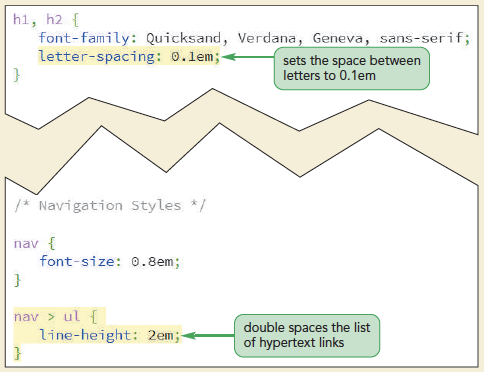
letter-spacing: 0.1em;
nav > ul {
line-height: 2em;
}
font-style: type;
type is normal, italic, or obliquefont-weight: weight;
weight is the level of bold formatting applied to the texttext-decoration: type;
type is none, underline, overline, or line-throughtext-transform: type;
type is capitalize, uppercase, lowercase, or nonefont-variant: type;
normal or small-capstext-align: alignment;
alignment is left, right, center, or justifyvertical-align: alignment;
baseline, bottom, middle, sub, super, text-bottom, text-top, or top| Value | Description |
|---|---|
| baseline | Aligns the baseline of the element with the baseline of the parent element |
| bottom | Aligns the bottom of the element with the bottom of the lowest element in the line |
| middle | Aligns the middle of the element with the middle of the surrounding content in the line |
| sub | Subscripts the element |
| super | Superscripts the element |
| text-bottom | Aligns the bottom of the element with the bottom of the text in the line |
| text-top | Aligns the top of the element with the top of the text in the line |
| top | Aligns the top of the element with the top of the tallest object in the line |
font: style variant weight size/height family;
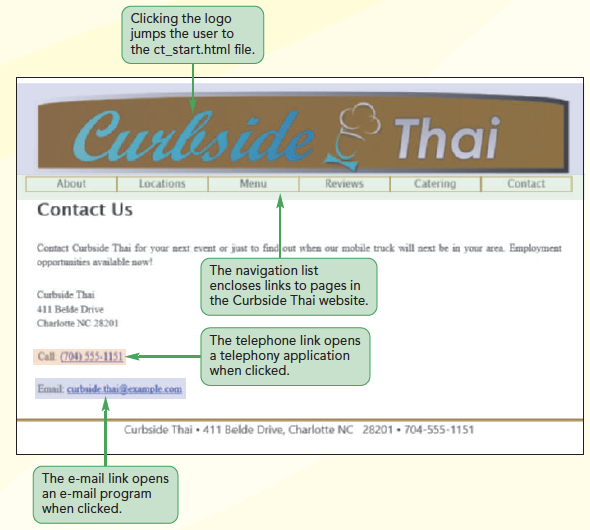
style is the fonts style, variant is the font variant, weight is the font weight, size is the font size, height is the height of each line, and family is the font stacktss_styles.css file in your editor.body > footer address {
background-color: rgb(222,128,60);
color: white;
color: rgba(255, 255, 255, 0.7);
font: normal small-caps bold 0.9em/3em
Quicksand, Verdana, Geneva, sans-serif;
text-align: center;
}

address elements that are direct children of the footer element.h1 heading in a document has the ID top. Provide a style rule to display the text of this h1 heading in Century Gothic, Helvetica, or a sans-serif font.body {font-size: 16px;}
body> article {font-size: 0 . 75em;}
body> article> hl {font-size: 1.Sem; }<a> tag and nested within a navigation list.@font-face rule to create a web font named Cantarell based on the font files cantarell.woff and cantarell.ttf.blockquote elements belonging to the Reviews class in italic and indented 3em.h1 through h6 headings and to display their text with normal weight.